Overview
Advanced Content Filtering is a Content Filtering plug-in that enables blocking unwanted emails through scanning of email header data and content using advanced highly configurable search conditions and regular expressions (regex).
Introduction
Advanced Content Filtering engine allows filtering for specific Keywords and Regular Expressions in the Header, Body, Subject, Attachment Name as well as Attachment Content of the emails.
This is one of four independent Content FIltering modules that are designed to scan the content of emails as well as attachments and block emails containing content that matches the configured content filtering rules.
The four Content filtering engines accessed from the GFI MailEssentials > Content Filtering node are:
- Keyword Filtering blocks emails based on keywords in the body, subject and/or attachments;
- Attachment Filtering blocks emails based on the type or size of its attachment(s);
- Decompression Engine blocks emails with specific types of compressed files within the email, such
as password-protected archives, recursive archives, and so on; - Advanced Content Filtering blocks emails based on specified text in the header, subject, or body of the email, using text search or regular expressions. This allows administrators to, for example, prevent users from sending outbound emails with credit card numbers.
This article delves into more details on how the Advanced Content Filtering engine works as well as how to use the engine to effectively identify and block unwanted emails:
Description
To configure Advanced Content Filtering rules, log in to the MailEssentials Configuration UI and navigate to GFI MailEssentials > Content Filtering > Advanced Content Filtering. This page allows you to view existing rules as well as do the following configuration actions:
Creating Advanced Content Filtering rules
To create an Advanced Content Filtering rule follow the steps listed below:
- Step 1: Configuring basic rule settings and conditions to block
- Step 2: Configuring the actions to take on detected emails
- Step 3: Specifying users to whom this rule applies
Refer to this linked article on Creating Advanced Content Filtering rules for more details on the above steps.
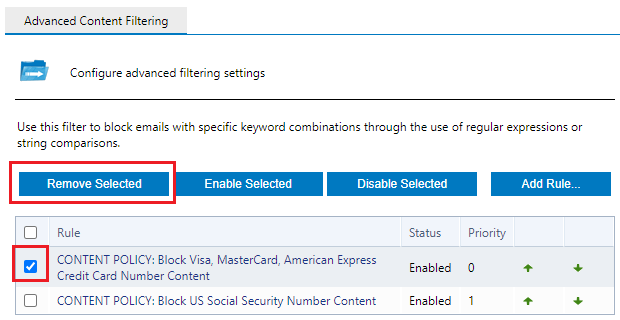
Removing Rules
- From Content Filtering > Advanced Content Filtering, select rule to remove.
- Click Remove Selected and accept the confirmation prompt
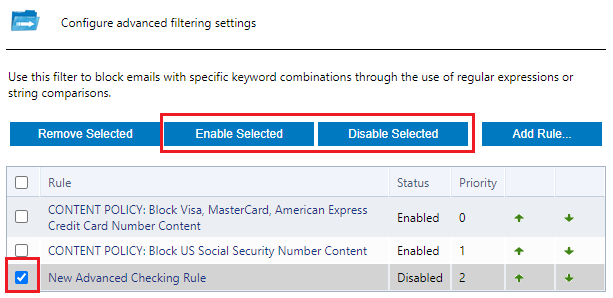
Enabling/Disabling Rules
- From Content Filtering > Advanced Content Filtering, select a rule to enable/disable.
- Click Disable Selected to disable the rule or Enable Selected to enable.
Sorting Rules
Advanced Content Filtering rules are applied in the same order, from top to bottom as they are listed on the Advanced Content Filtering page (that is, rule with priority value 1 is checked first). To change the sequence/priority of rules:
- Navigate to the Content Filtering > Advanced Content Filtering node.
- Click the
(up) or
(down) arrows to respectively increase or decrease the priority of the rule.
- Repeat step 2 until rules are placed in the desired sequence.
The priority works as an evaluation order rather than an exclusive priority similar to the one used by the antispam filter order. Rules are therefore evaluated in a sequence until the email is flagged as spam. The process stops, as checking against the following rules is redundant.
Related Articles
- Creating Advanced Content Filtering rules
- How to determine why the Advanced Content Filtering Content Filter blocked or allowed a message
Priyanka Bhotika
Comments